

Some rooms have no wall a screen can use: a glass storefront, a bar with shelving behind it, a gym, an airport gate or a kitchen island. A ceiling TV mount installation solves that, but it moves every load onto fasteners pulling straight down out of the ceiling. This guide covers finding the structure, reading a load rating, sizing the drop pole and tilt, and getting power and signal to the screen.
How do you install a ceiling TV mount?
Locate a ceiling joist, or add blocking between two joists, and fasten the ceiling plate into the centre of solid wood or structure with the hardware the mount maker specifies. Choose a mount rated above the screen’s weight, set the drop pole so the screen clears heads and suits the seating angle, then route power and signal through the pole.

When a TV on the ceiling makes sense
In commercial work a ceiling mount is often the first choice, not the fallback. Typical jobs:
- Bars and restaurants: screens over the back bar or seating, often back to back.
- Gyms: screens above a row of cardio machines, clear of users.
- Waiting rooms, gates and lobbies: screens over seating where no wall faces the viewers.
- Retail and homes: glass storefronts, bedrooms and kitchen islands.
If a wall is usable, it is usually simpler. Our guide to fixed, tilting and full motion TV wall mount types covers those options.
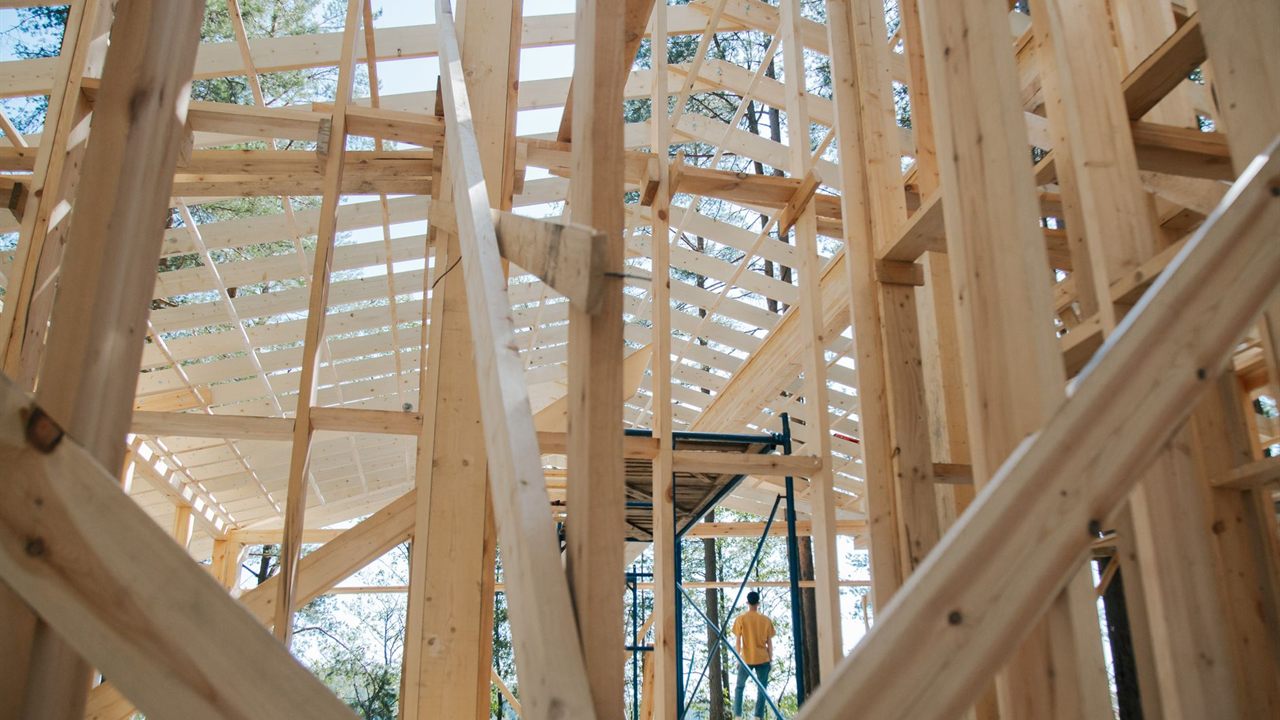
Ceiling TV mount joist or blocking: find solid structure
A ceiling plate must be fastened into structure, never into drywall alone. Ceiling joists in wood framing typically run 16 or 24 inches on centre. Find them with a stud finder, then confirm the edges with a thin nail or a small test hole where the plate will cover it.
- Centre of the joist: lag into the middle of the joist, using the pilot hole size and fastener the mount’s instructions give. A lag near the edge can split the wood or miss it entirely.
- Two joists or blocking: if the screen has to hang between joists, open the ceiling and fit solid blocking between two joists, fastened to both, then mount through the drywall into the blocking.
- Engineered joists and trusses: I-joists and trusses have their own rules for fastening and added load. Check the maker’s literature or ask the building’s engineer before attaching anything.
Mount the plate in the orientation the instructions show relative to the joists; some plates suit either direction, others do not.
Drop ceilings, concrete and steel in commercial spaces
Commercial ceilings bring three different problems. A suspended tile ceiling grid is not structure and is not built to carry a display. Use a mount system or adapter made for drop ceilings that reaches the structure above, or run approved threaded rod to the deck or framing as the mount maker allows.
Concrete slabs need anchors whose listing covers that base material and load; the anchor principles in our guide on how to mount a TV on a brick wall apply overhead too. Steel framing and bar joists need clamps or hardware the mount maker approves, never wood lags.
| Ceiling | Fasten into | Watch for |
|---|---|---|
| Wood joists | Joist centre, with lags | Joist edges, splitting, joist spacing |
| Between joists | Blocking fixed to two joists | Blocking secured at both ends |
| Suspended grid | Structure above, through an adapter | Never load the tiles or grid |
| Concrete slab | Listed concrete anchors | Embedment, edge distance, rebar |
| Steel framing | Approved clamps or bolts | Mount maker’s approval for steel |

Load ratings and what UL 2442 tests
Every ceiling mount has a weight rating and a screen size range. Size the mount by the screen’s weight, plus anything else hung on it, such as a soundbar bracket or a second screen on a dual mount.
A UL 2442 listing means more than a label. According to UL Standards & Engagement, the standard covers wall and ceiling mounts, and its securement test loads a mount for TVs of 100 lb or less to at least four times its weight rating; heavier mounts face two times their rating plus 200 pounds, with no cracking, bending or distortion.
- A mount rated 80 lb is tested to at least 4 x 80 = 320 lb.
- A mount rated 150 lb is tested to 2 x 150 + 200 = 500 lb.
That test covers the mount, not the ceiling. The joist, blocking or anchors must carry what the mount’s instructions require, so treat the screen weight on the box as the minimum the structure must hold, not the target.
Drop pole length, height and tilt
Pole length sets the screen height, which sets both safety and comfort. Work it out before choosing a pole.
Over a walkway in a public space, the U.S. Access Board’s guide to protruding objects requires headroom of at least 80 inches along circulation paths. A 65 inch 16:9 screen is 65 x 9 / 18.36 = about 31.9 inches tall. With its bottom edge at 80 inches, the top sits near 112 inches, so a 10 foot (120 inch) ceiling leaves about 8 inches for plate, pole and tilt head.
Now the viewing angle. Assume the screen centre is at 96 inches, a seated viewer’s eyes at 42 inches, and a distance of 12 feet (144 inches). The angle down to the screen is atan(54 / 144), about 20.6 degrees. Use the tilt head to angle the screen down toward the main seats, and check the mount’s stated tilt range covers it.
- Longer poles sway more; brace or shorten where the mount maker offers it.
- Keep the screen clear of fans, sprinkler heads, lights and the swing of doors.
Power and cable routing down the pole
Most ceiling poles are hollow so cables can run inside. Plan both ends: what comes out of the ceiling and what plugs into the screen.
- Power: have an electrician install a receptacle at the ceiling plate, under the local code. Do not run a flexible cord through the ceiling; our guide on where to mount a soundbar explains the code point.
- Signal: a ceiling run is often long. Read HDMI cable length limits and long runs and compare HDMI over coax vs Ethernet before pulling.
- Plenum spaces: above many drop ceilings the air space is a return plenum, which calls for plenum-rated cable; see CMR vs CMP cable explained.
Leave a service loop above the plate so the screen can come down for service without pulling cables.
Ceiling TV mount installation step by step
- Mark the screen position and confirm the height and angle from the main seats.
- Locate the joist centre, or open the ceiling and fit blocking.
- Have power and low voltage cable roughed in to the plate position.
- Drill pilot holes to the size the instructions give and fasten the plate with the supplied hardware.
- Assemble the pole, feed the cables through and set the tilt head.
- Fit the TV adapter to the screen’s VESA pattern and hang the screen with a helper.
- Tighten every lock and safety screw, then load test by hand before handing over.
Where to find ceiling TV mounts
The TV and display mounts category lists ceiling options, including a dual-sided ceiling mount for 37 to 70 inch TVs, alongside wall mounts. Speakers, cables and racks sit in the audio and video division. For the sound side of a commercial room, see our in-ceiling speaker placement guide.
For pricing and availability, ask your sales representative through the Bursma contact page, or open a Bursma dealer account.
Frequently asked questions
Can you mount a TV on the ceiling without a joist?
Not into drywall alone. Add blocking between two joists, or use a mount system designed to reach the structure above a drop ceiling.
Do ceiling TV mounts need two joists?
Follow the mount’s instructions. Many plates fasten to one joist centre; blocking spanning two joists is the usual fix when the screen must hang between them.
How high should a ceiling mounted TV be?
High enough to clear heads, and at least 80 inches to the bottom edge over walkways in public spaces, then tilted toward the seats. Work out the angle from the seated eye height and distance.
Can you hang a TV from a drop ceiling?
Only with hardware that carries the load to the structure above. The tiles and grid are not built to hold a display.