

A rack with the right switch and patch panels can still be hard to work on if the cords hang in loops across the front. Good network rack cable management keeps every patch cord traceable, protects the cable from tight bends and leaves room to add ports later. It also makes the next service call faster for whoever opens the rack, including you.
How do you manage cables in a network rack?
Use vertical cable managers on the sides of the rack and horizontal managers where cords must cross it. Route each patch cord from the panel to the nearest horizontal manager, across to the vertical manager, then to the switch. Use cords cut to the route, hook-and-loop straps, and labels at both ends.

Network rack cable management at a glance
The table compares the main pieces of rack cable management hardware. It describes typical designs; the product listing sets the actual size and capacity.
| Item | Where it goes | What it does | Watch for |
|---|---|---|---|
| Horizontal manager | Above or below a patch panel or switch, 1U to 3U | Gathers patch cords at the port zone and guides them sideways | Uses rack space; overfilled fingers pinch cords |
| Vertical manager | Along one or both sides of the rack | Carries cords and bundles up and down between rack units | Size it for the full port count plus growth |
| Hook-and-loop straps | Inside managers and along bundles | Holds bundles without crushing the jacket | Snug, not tight; re-usable for changes |
| Labels | Both ends of every cord and run | Ties each cord to its port and outlet | Match the panel and switch port numbering |

Vertical cable managers
Vertical managers are the backbone of the rack. They run the full height on one or both sides, carrying patch cords between rack units and keeping bundles off the front of the equipment. Because they sit outside the mounting rails, they use no rack units.
- Size for growth. A manager that is full on day one has no room for the next switch. Leave space for more cords than you install.
- Use both sides on dense racks. Split the cords so each side carries half, rather than packing one side.
- Keep power apart. Run power cords on one side and data on the other, or keep them in separate pathways.
Never run cords down the face of the rack or straight through from front to back. That blocks access to the ports below and turns the next move into an untangling job.

Horizontal cable managers
A horizontal cable manager mounts in the rack like any 1U or 2U component, usually directly above or below a patch panel or switch. It gathers the cords coming off a row of ports and turns them toward the side of the rack, so they do not hang across the faces of the gear below.
The common styles are finger duct, with rows of plastic fingers and often a hinged cover; D-ring or loop bars, which are open and quick to work with; and brush strip panels, which pass cords through a slot while blocking airflow in a cabinet. Pick the depth and height for the number of cords the manager has to carry.
Not every house standard wants them. The University of Waterloo’s telecommunication room guidelines make vertical management mandatory in new racks and say horizontal managers should not be used unless cables need to run across the rack. On a small rack with a switch directly above its panel, short cords may need no horizontal manager at all.

Patch cable management: routing, length and color
Patch cable management starts with a routing rule everyone follows. Montana State University’s installation guidelines for telecommunications cable route cords from the upper half of a patch panel up to the horizontal manager, sideways to the vertical manager, then up or down to the switch. Cords from the lower half go down first.
Length matters as much as route. Measure along the path the cord will follow through the managers, not in a straight line, and keep a few standard lengths on hand so odd sizes do not creep back in. A cord that is too short pulls on the jack; one that is too long fills the manager with loops.
Color coding helps if the whole team uses it: one color for data, another for cameras or uplinks, for example. Write the scheme down and keep it at the rack. For a camera rack, our guide to the PoE budget for IP cameras covers the switch side of the job.
Bend radius, ties and slack
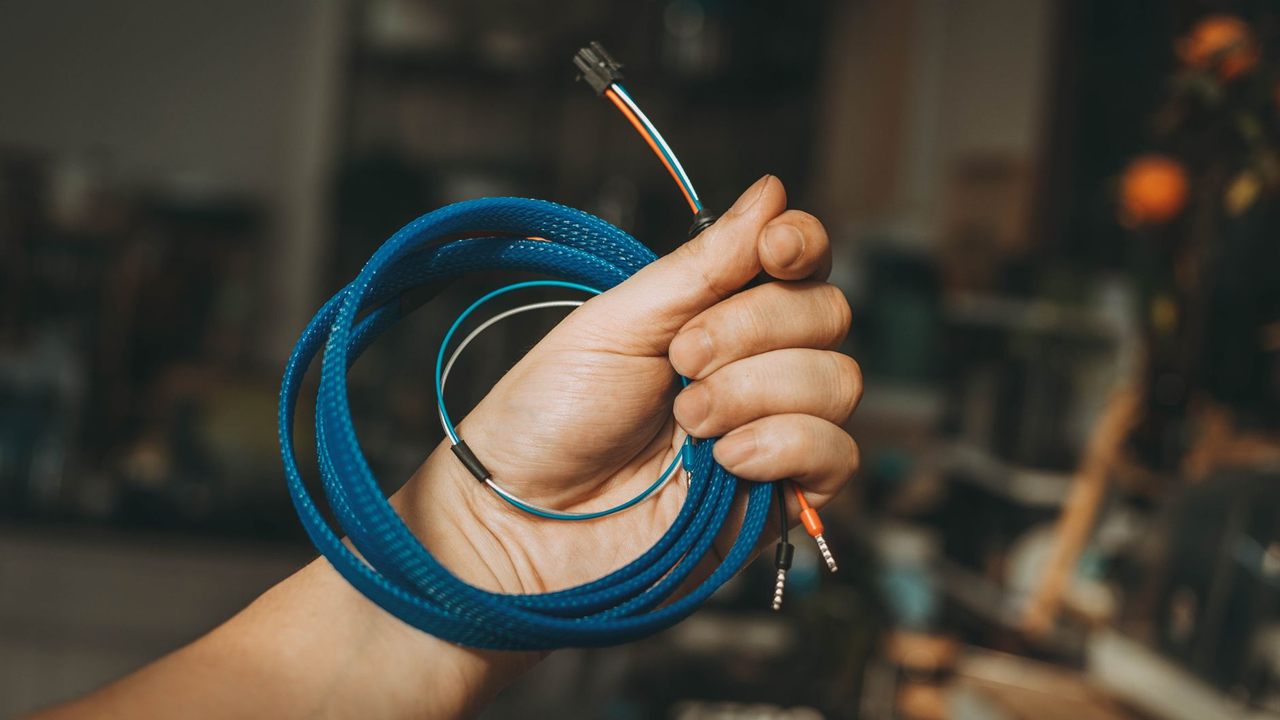
Twisted pair cable loses performance when it is bent too tightly or squeezed. The same Montana State guidelines set a minimum inside bend radius of 0.25 inch for 4-pair UTP patch cable, and four times the cable diameter for horizontal Category 6A cable. They also say ties must not strain or compress the cable jacket.
- Use hook-and-loop straps, snug enough to hold the bundle but loose enough to pull out one cord. Waterloo’s guidelines allow straps only, never tie wraps.
- Keep bundles moderate. Smaller bundles are easier to trace and re-dress.
- Store slack off the rack face. Loop service slack for horizontal runs in the cable tray or ladder above the rack, not in the managers.
The cable in the walls matters too. See Cat5e vs Cat6 for security cameras for the category choice and CMR vs CMP cable explained for jacket ratings where runs pass through risers or plenums.
Labels, removing dead cords and documentation
Label both ends of every horizontal run and every patch cord, using the same numbering as the panel and the switch ports. A label that only exists at one end does not help when tracing a fault from the outlet.
Remove disconnected cords as soon as a port goes unused. A dead cord left in the manager takes space and confuses the next tech. Keep a port map at the rack and update it with every move, add or change.
Terminate every run to one wiring scheme. Our T568A vs T568B guide explains why mixing them on one job causes trouble.
A dressing order that works
- Pick the rack first; our guide on how to choose an AV equipment rack covers size, depth and ventilation.
- Mount vertical managers before any equipment goes in.
- Place each switch next to the panel it serves, with a horizontal manager between them only if cords must cross the rack.
- Dress horizontal runs to the back of the panels and terminate them.
- Install patch cords one at a time, routed through the managers, strapped and labelled.
- Close the manager covers and update the port map.
Where to buy cable management supplies
The Bursma wire and cable management category covers the supplies that keep runs supported, bundled and labelled, and the Bursma wire, cables and connectors division lists the bulk cable, connectors and finished patch cables that go with them. The network switches category lists the switches.
For the current list, pricing and availability, ask your Bursma sales representative. If you install for a living, apply for a Bursma dealer account, or call the Wyoming, MI branch or the Columbus, OH branch.
Frequently asked questions
What is the difference between horizontal and vertical cable management?
A horizontal manager mounts in the rack beside a patch panel or switch and gathers cords at the ports. A vertical manager runs up the side of the rack and carries cords between rack units.
Do I need a horizontal cable manager under every patch panel?
Not always. Some house standards route every cord through one; others use them only where cords cross the rack. A switch placed directly next to its panel with short cords may not need one.
Should I use zip ties or Velcro in a network rack?
Use hook-and-loop straps. Plastic ties pulled tight can crush the jacket and are cut off at every change, while straps hold the bundle without compressing it and can be reused.
How long should patch cables be?
Long enough to follow the route through the managers without pulling on the jack, and no longer. Measure along the path and use a few standard lengths.